How to Install a Ceiling Fan
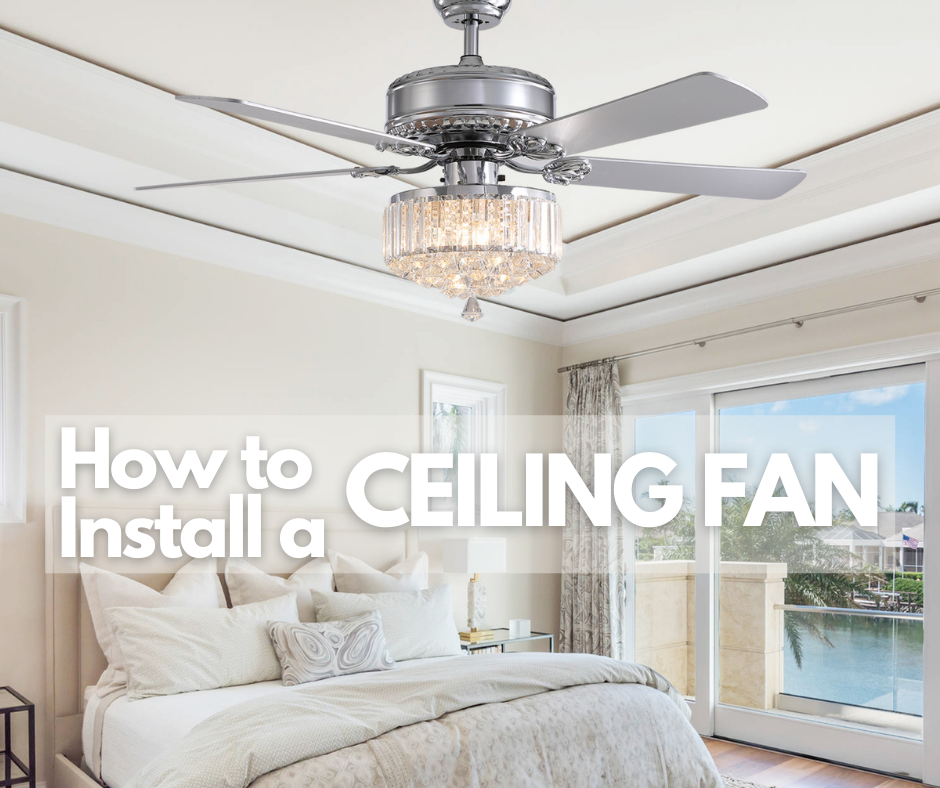
A ceiling fan is a great way to keep your home comfortable year-round. With the reversible function, you can use it not only on hot summer but also on cold days. Follow our step-by-step guide to learn how to install a ceiling fan.
Assemble the Fan Blade
1. Assembling the Blade Arm

- Step 1. Take off screws from the fan motor.
- Step 2. Place the blade arms to the motor.

- Step 3. Attach the arms onto the motor with the screws taken off.


2. Assembling the Blade
Attach fan blade onto the blade arm with screws and plastic washer provided.
NOTE:
Make sure to assemble the blade arms and blades in sequence and fasten the screws with equal force.
Install the Fan
NOTE: This ceiling fan is supplied with two types of hanging downrods:
1. The short downrod for "close-to and flat ceiling" installation. It is recommended in rooms with less than 9 feet ceilings or in areas where additional space is desired from the floor to the fan blades.
2. The long downrod is for high ceiling.
3. Angled ceiling is not supported.
1. Installing the Bracket
- Step 1. Pass the power wires through the center hole in the mounting bracket as shown in follow pic.

- Step 2. Secure the mounting bracket to the ceiling outlet box with the screws and washers provided with your outlet box.

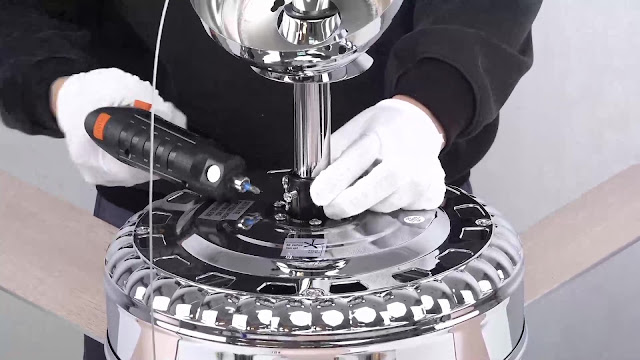
2. Assembling the Fan
- Step 1. Assemble the canopy and adapter cover.
- Step 2. Remove the bolt, pin, and set screws from the top of the fan motor assembly.
- Step 3. Route wires from the top of the fan motor through downrod/ ball.

- Step 4. Align the holes at the bottom of the downrod with the holes in the collar on top of the motor housing. Carefully insert the bolt through the holes in the collar and downrod. Be careful not to jam the bolt against the wires inside the downrod. Insert the pin to the end of the bolt.
- Step 5. Fix the downrod with the set screws provided.


3. Hanging the Fan
Place the downrod ball into the bracket socket. Be sure the fixation slot is locked by the bracket.
Install Ceiling Fan Wiring
NOTE: THIS FAN ONLY NEEDS ONE SET OF INPUT WIRES (black, white, and ground wire). Both of the fan and lights will be controlled by the remote controller. The wall switch is not able to control the fixture fully functionally.
THIS FAN CAN ONLY BE CONNECTED ONTO ON/OFF SWITCH. IF YOU HAVE ONE, NOT SUITABLE FOR DIMMER SWITCH.
- Step 1. Connect the three wires from the receiver to the fan wires, black to black, white to white, and blue to blue.

- Step 2. Connect the receiver black wire to your house live wire, white wire to your neutral wire, yellow/green wire from the downrod to your ground wire.

- Step 3. After connecting the wires, spread them apart so that the live wires are on one side of the outlet box and the neutral wires are on the other side.
- Step 4. Insert the remote receiver into the bracket as the pic.


Attach the Canopy
- Step 1. Insert the wires and wire connectors into the outlet box.
- Step 2. Slide the canopy up to the ceiling and attach it to the mounting bracket with the screws provided. Tighten all screws securely.


Install Bulbs and Crystal Light Shade
- 1. Connect shade wires to motor wires, black/blue to black/blue, white to white.
- 2. Install light bulbs (E12 x 3, Max. 40W each, LED recommended).

- 3. Attach the crystal shade onto the motor with screws on it.
- 4. Attach the crystal strand onto the shade frame, the long one for the center, then work the way out.


*REVERSE FUNCTION

The reverse button on the motor changes the airflow pattern. In warm weather, use "FORWARD" for the downward airflow pattern. In cold weather, use"REVERSE" for the upward airflow pattern.


Comments
Post a Comment